One of the practical sessions during our Permaculture Design Courses is often the building a hot compost heap. Pretty much any organic materials left in a pile will compost eventually, but by carefully shaping a heap with the optimal mix of ingredients we can ensure that it creates heat, speeding up the composting process and killing weed seeds that are within it.
This little tutorial on making usable compost in just 18 days has been put together by Malou, Nicola and Gal, all of whom attended a PDC here and have since been perfecting the art of compost heap building around Casalinho 🙂
You need to collect equal volumes of animal manure (we used goat poo), dry straw, and fresh green material such as weeds or grass clippings. The smaller the pieces of these materials are, the faster they will decompose. A diverse range of ingredients is preferable. Sticks and other woody materials take longer to decompose and so aren’t suitable for this method. If you haven’t got animal manure, you can add kitchen waste instead, and if you are short of straw you can use hay. The disadvantage of hay is that it contains seeds, but in a hot composting process the seeds should be destroyed.
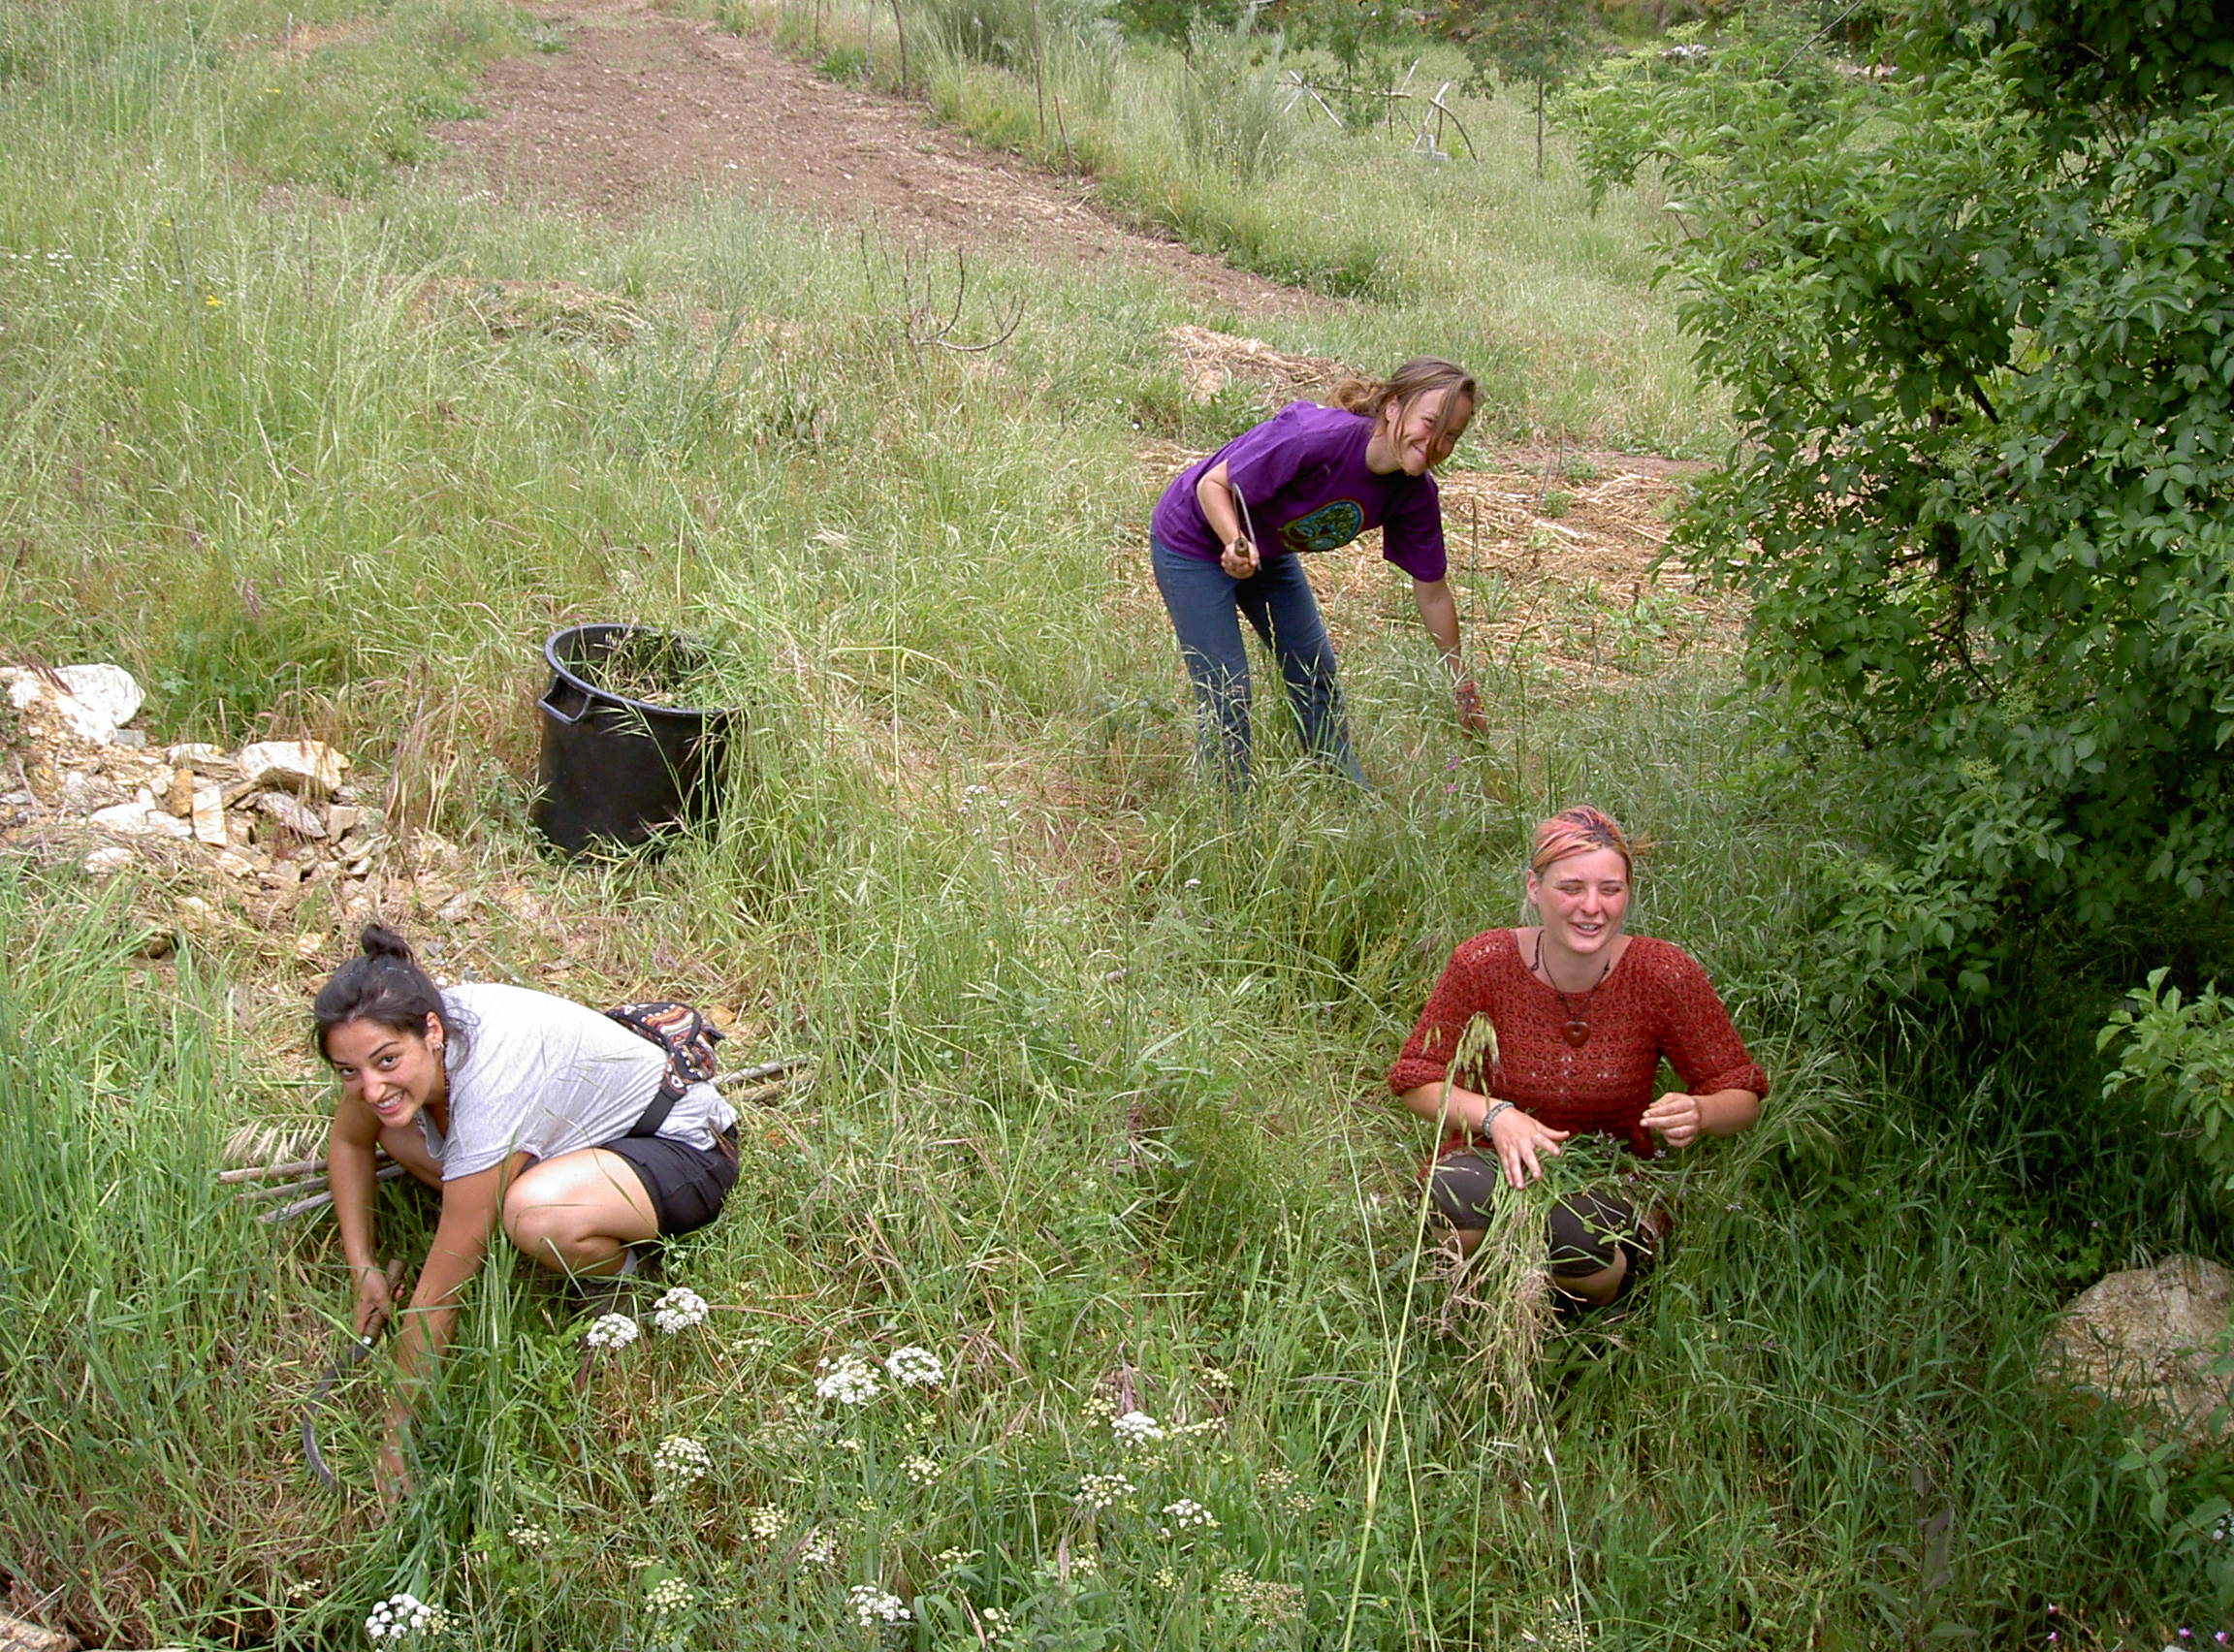
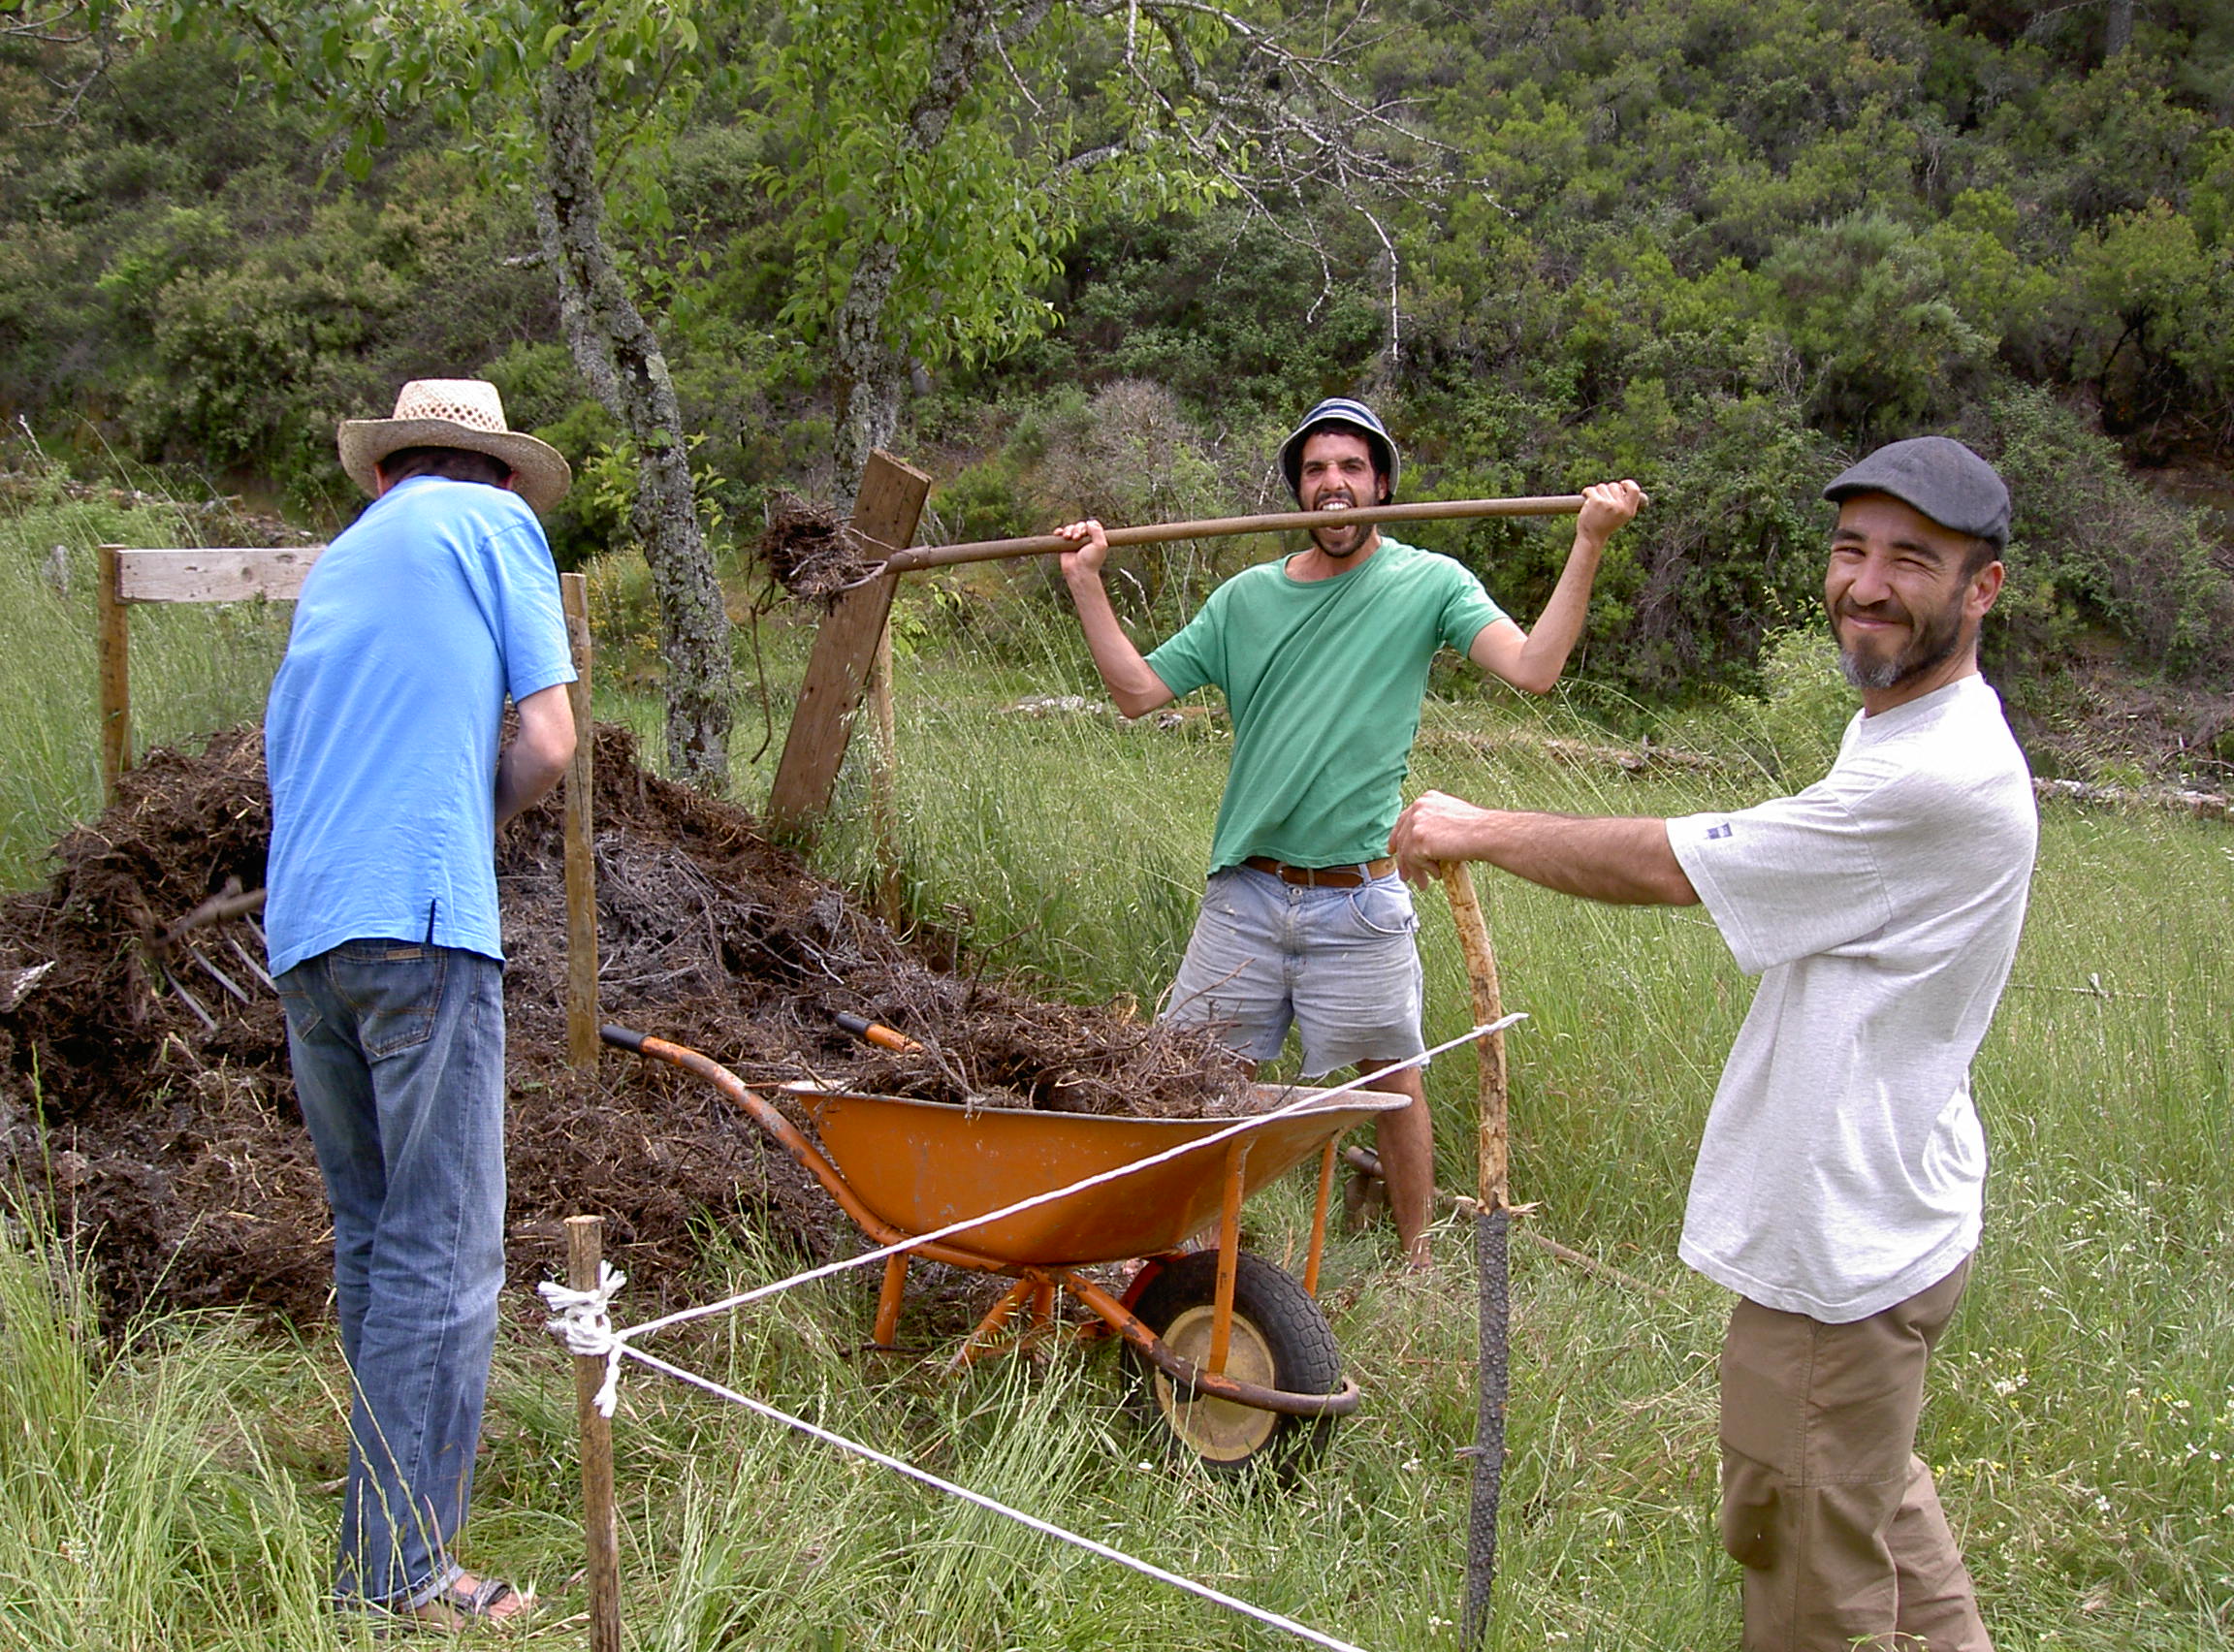
Collecting fresh green material, and shovelling goat poo
On a flat piece of ground, build a cylindrical heap between 1 to 1.5 metres across. The heap is made up of repeating layers of the composing materials. Each layer needs only to be sufficient to cover the layer beneath and you’ll need to water it regularly to make sure that the heap is thoroughly damp. We ordered our layers in this way: poo, grass, then straw, and watered every time we added the straw layer. As it gets taller, you should also water the sides. When you finish creating your compost heap, you water the top as well as the sides.
It’s important to ensure that the sides remain straight, and your heap should end up as tall as it is wide. The even shape ensures that heat can spread throughout the heap evenly. If we allowed the heap to become pyramid shape the top section wouldn’t heat up as well.
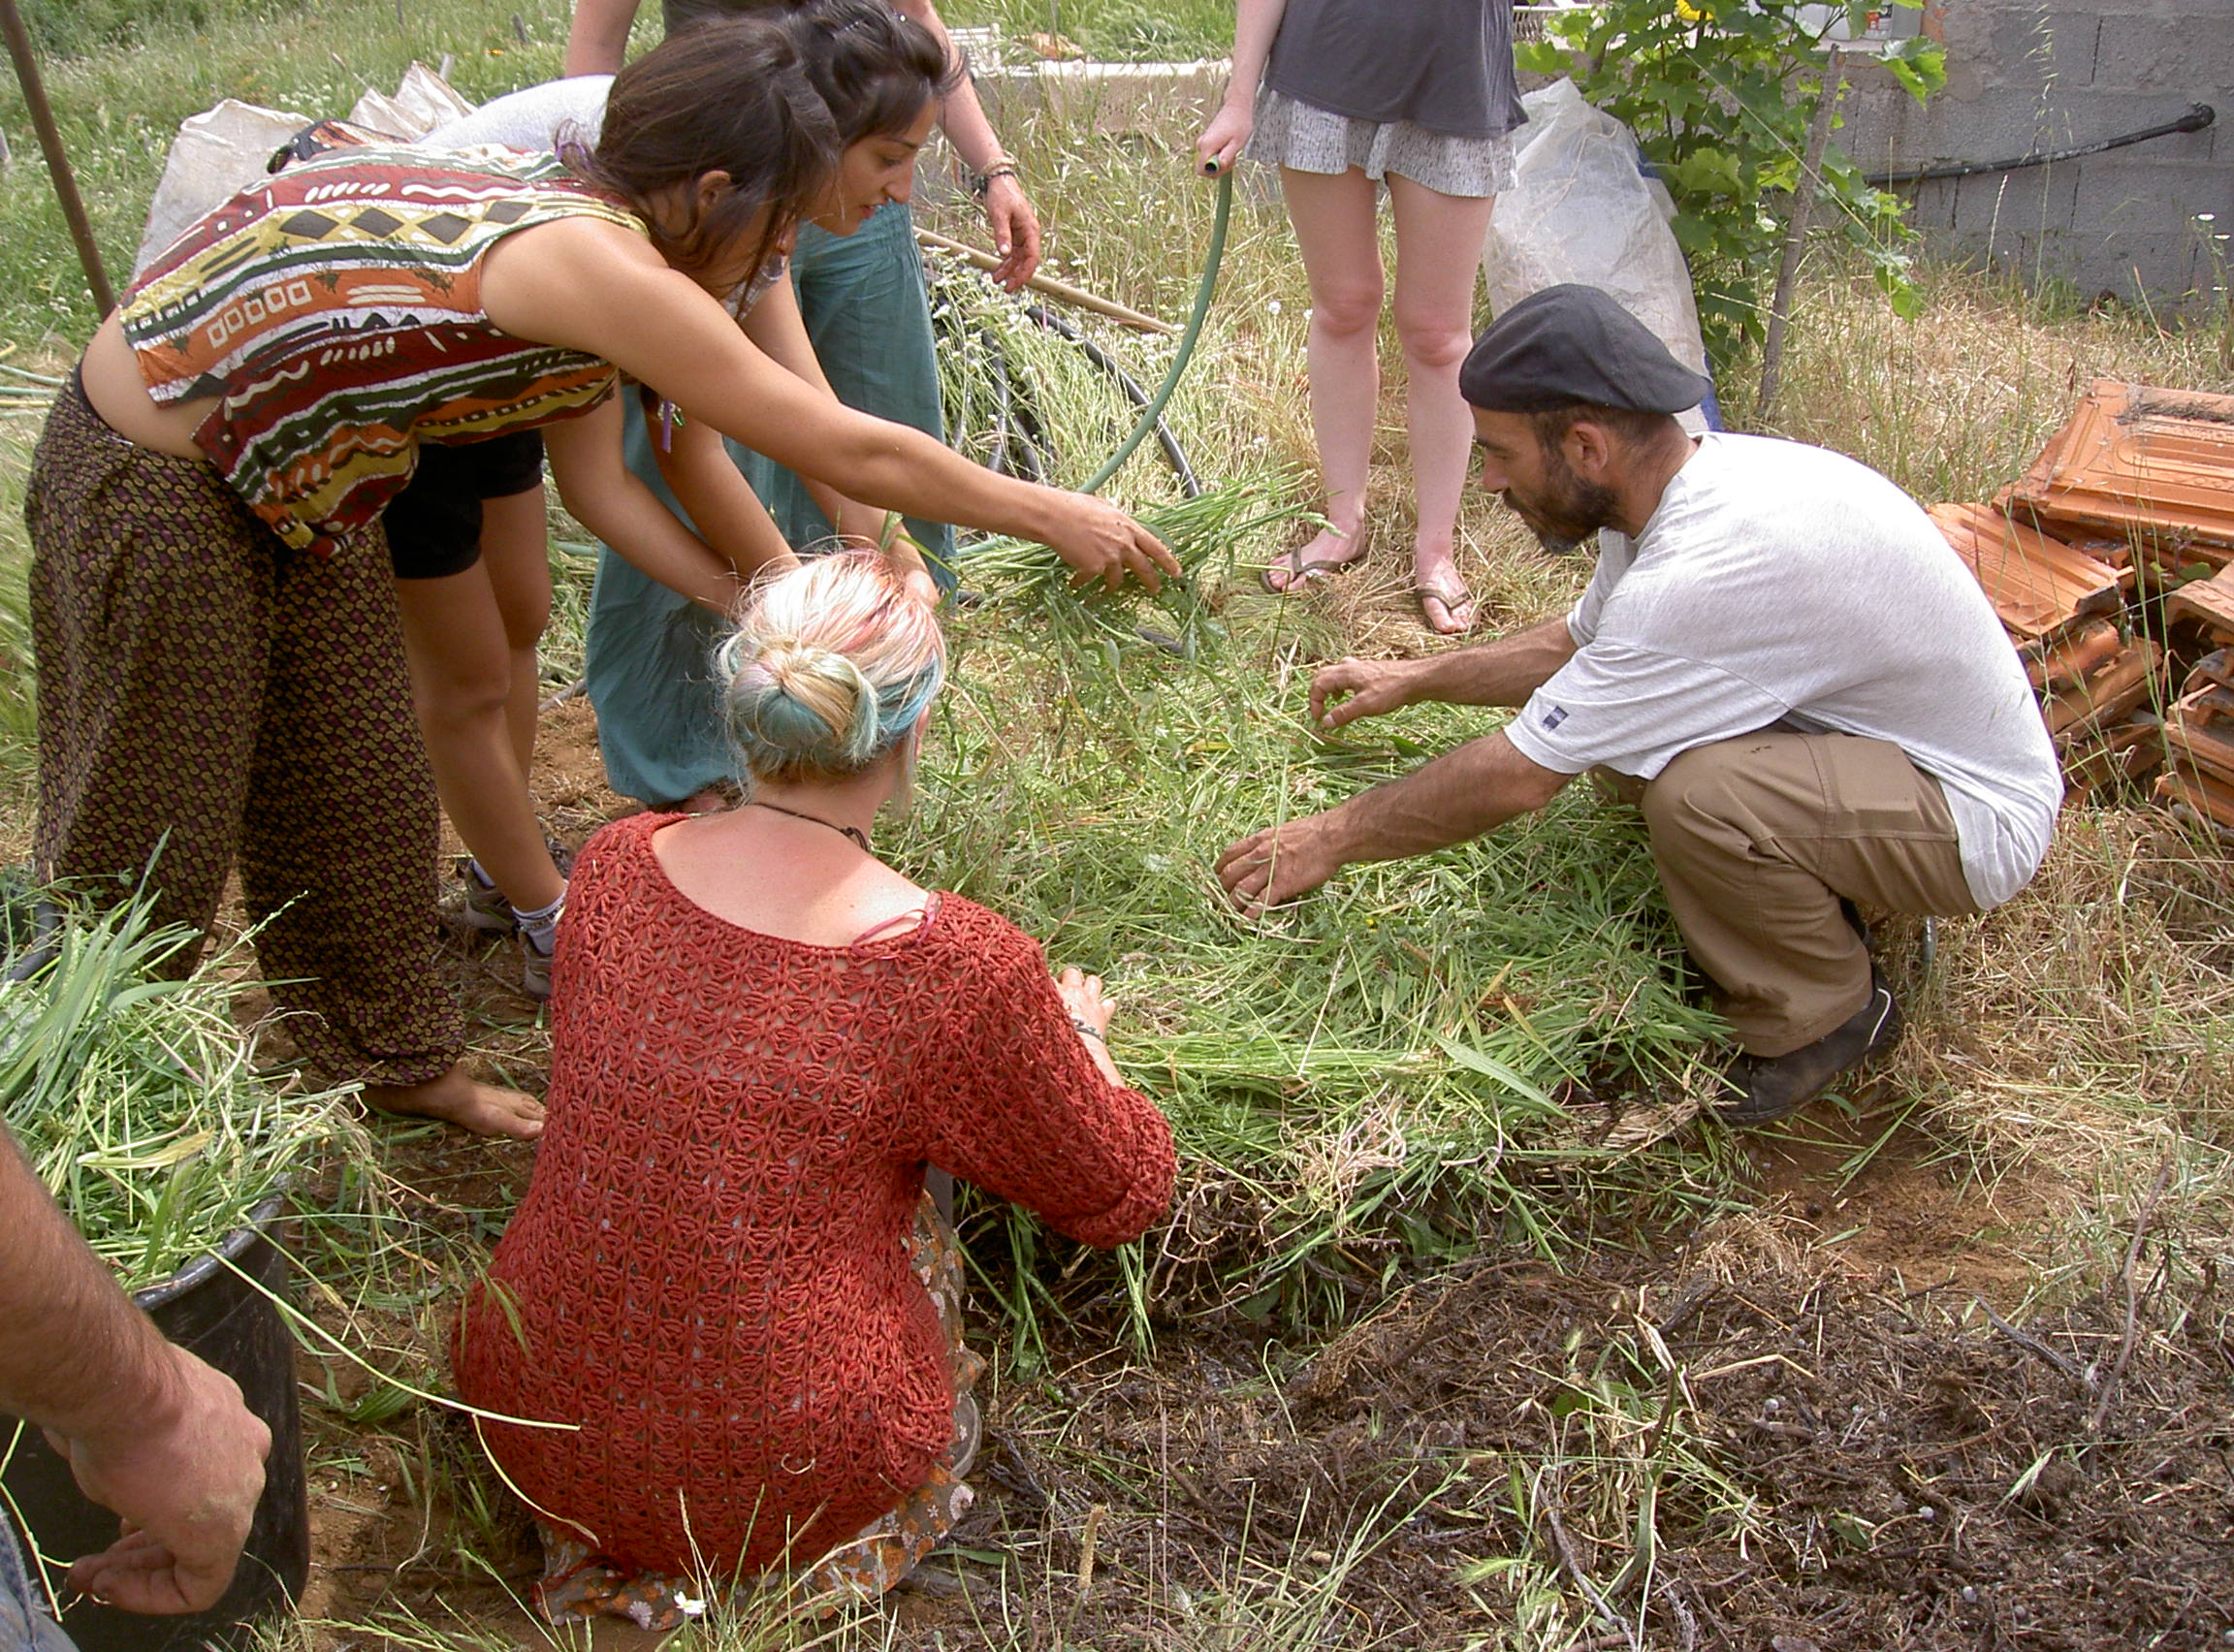

Thin layers and keeping the sides straight are key to this method
Helder suggested that if you happen to have a dead animal, you can include it in the centre of the heap. It will decompose very quickly as the heap heats up and add extra nutrients to your finished compost. However, as a group, we didn’t fancy trying this.
Once the cylindrical pile is complete, top it with old cardboard then cover the whole thing with a sheet of plastic. You can also use leafy branches or cardboard to cover the sides if you don’t use plastic.
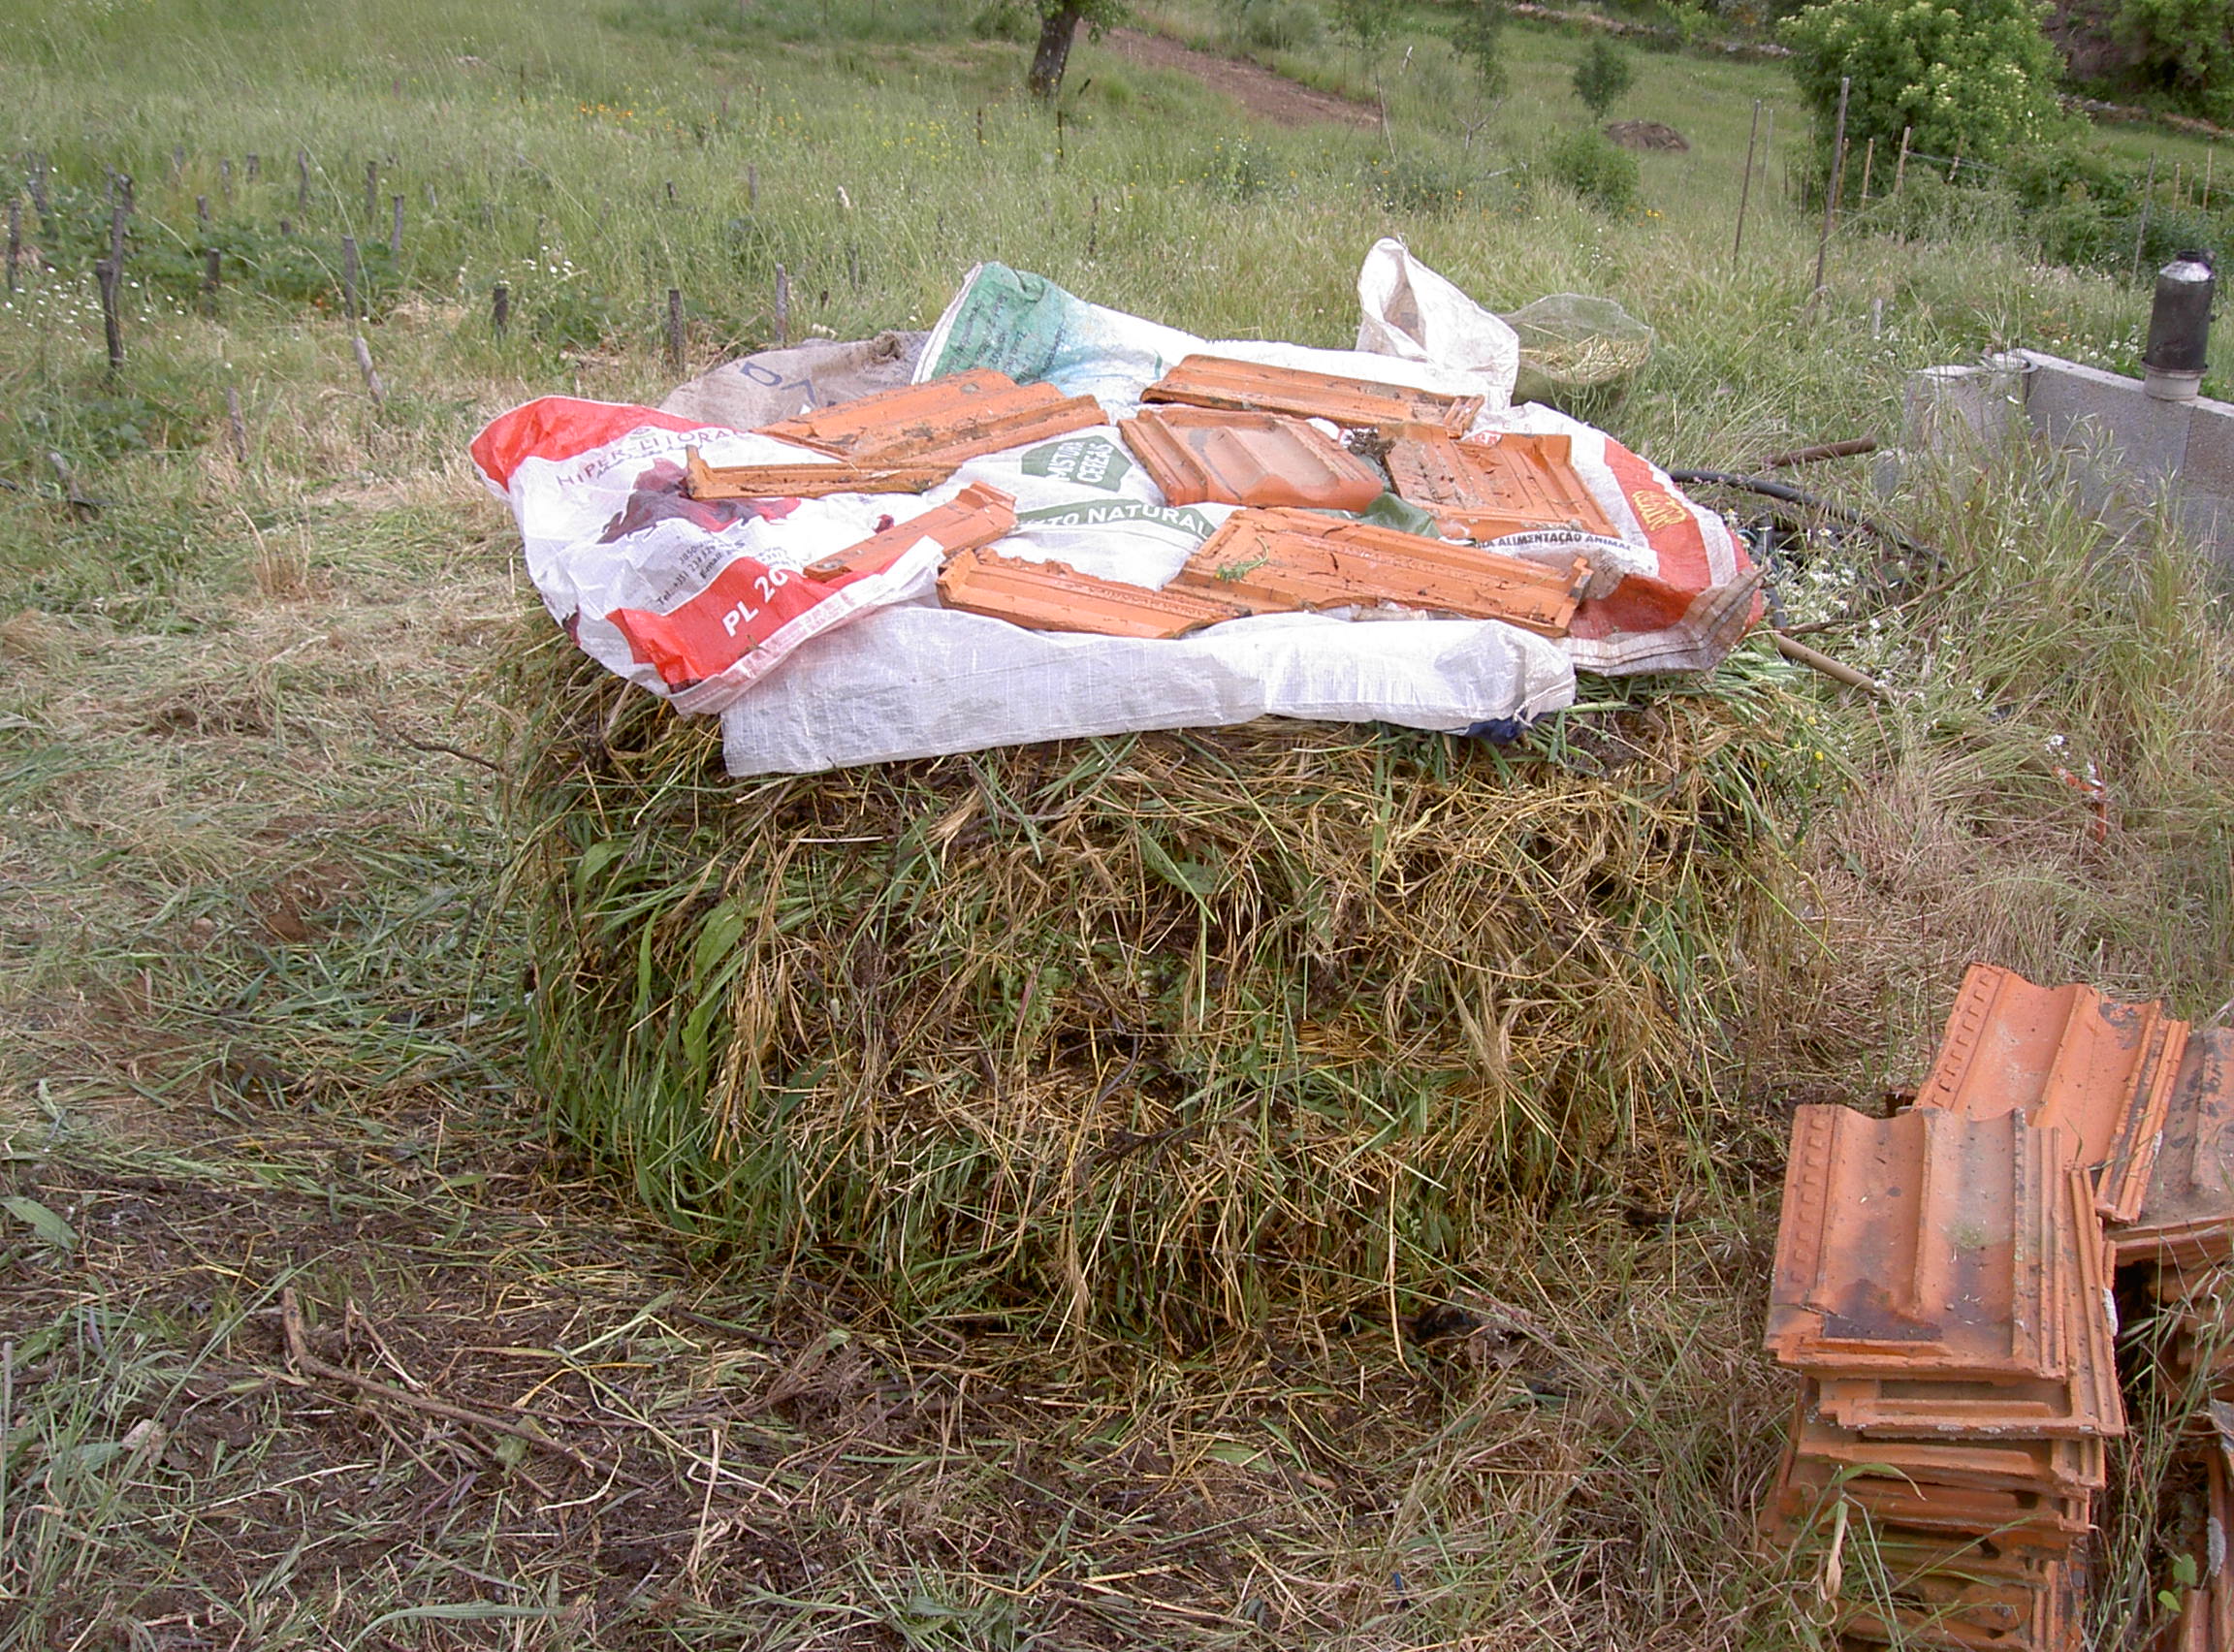
We lacked a large sheet of plastic, so improvised with old feed sacks
Leave the compost pile for four or five days (just watering if it gets dry) and the different materials will start to decompose. This process will create heat, and your compost pile will get hot in the centre. When it reaches 50-60 degrees centigrade, uncomfortably hot when you stick your arm in, it’s time to turn it. When we turn it, we’re aiming to turn it inside out so that the material on the outside, which hasn’t been decomposed yet, is now on the inside. You’ll be surprised at how quickly the material in the centre is breaking down. Water again as necessary.
Continue to turn and water the heap every 2-3 days until it’s decomposed sufficiently. It’s ready when it looks and smells like compost: dark and crumbly.
When you use the compost, you’d probably be aiming for a 10% compost, 90% garden soil mixture, depending on the quality of your soil.
Since the PDC we’ve made two more and it’s like installation art in situ! We’ve also been regularly turning other compost heaps that are on the farm, and comparing the results.
Our original heap from the course isn’t quite ready to yet and as we write it’s been 20 days. Variables which may have affected it could include: turning it a day early when it was perhaps not quite hot enough; using quite long and tough grasses rather than softer green material; the weather just after we built it, which was cold and rainy; and our use of feed sacks rather than plastic, which didn’t cover it completely and so didn’t trap the heat and moisture as effectively. It’s certainly composting faster than any of the other compost heaps on the farm though. It should be ready use very soon.
This batch has taken around 3 weeks

Leave a Reply