Here at Casalinho nothing is wasted, and I really mean nothing. But if I can squeeze in an extra step between kitchen, animal shed and compost, you can bet I will! Fruit scrap vinegar is a fabulous way of doing exactly that. Make a secondary, tasty product from something which many households would simply throw away. How could that possibly not be a fantastic plan?!
What you need to do is to collect all those scraps of fruit up. If you’re making jam or bottling fruit you’ll probably end up with a whole pile of cores and peels. If you’re not someone who prepares whole piles of fruit in one go, you can still make fruit scrap vinegar from your apple cores, for instance, but you’ll need to store them in your freezer until you have a sufficiently large collection to make it worthwhile.
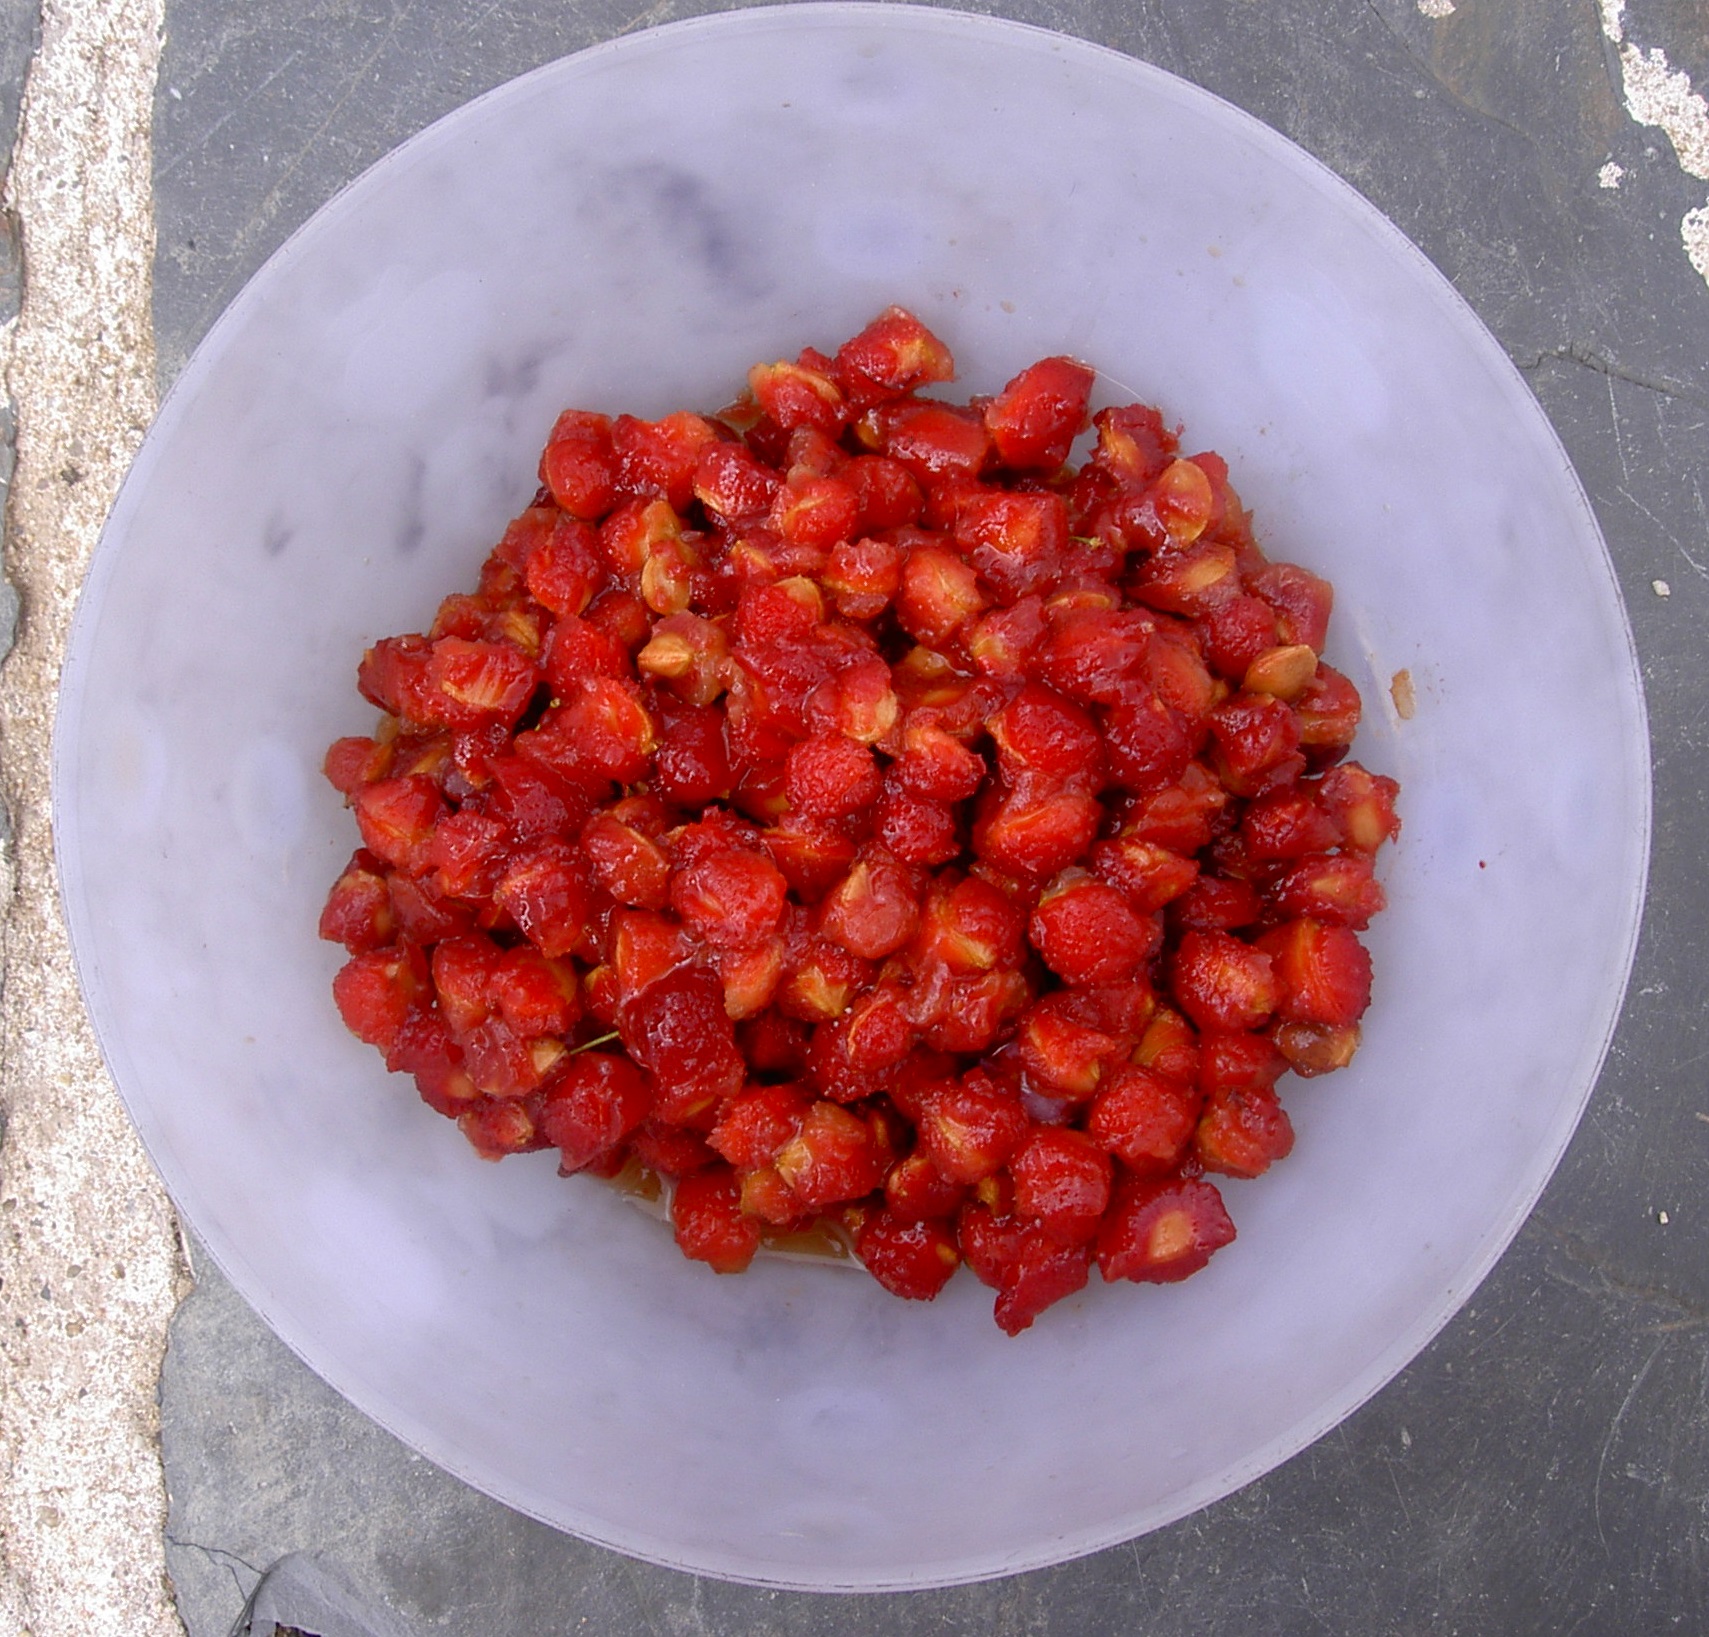
So place your fruit scraps in a bucket or jar, and cover the whole lot with a sugar solution. I’ve made big batches of scrap vinegar in buckets and smaller batches in large jars. Both have worked equally well. As with much of my cooking I prepare a sugar solution by just sloshing a load of sugar in, but around 200g sugar per litre of water is probably about right. Your fruit should all be covered.

Now, cover your container with a cloth (tie it on if you don’t want it to slip off and nasties to slip in) and leave it somewhere where you won’t kick it over. After a while it will start to ferment, and you might even be able to hear it bubble. Stir it every day or so, particularly important near the beginning. The speed of fermentation will be determined by temperature, the size of the pieces, and by the amount of sugar available to feed it. You’ll need to wait until it dies down to move onto the next stage, which is probably a couple of weeks.
Next, strain all the fruit scraps from the liquid. There’s those that tell me I should skip the chicken stage in their disposal and chuck fermented fruit scraps directly on the compost heap, but I’ve not yet had drunk chickens so I’ll carry on. The liquid should then be strained again through a close weave cloth in order to leave it as clear as possible.
At this stage your liquid will be mildly alcoholic. You need it to acidify, so place it in another clean jar or bucket with a loose cover and just leave it to do so. This will take a minimum of two weeks but you could leave it for months if you desired. Don’t stir it this, and a jelly like mass will form on the top which is the ‘mother’. Taste it regularly, and when it tastes like the strength of vinegar you enjoy then you know it’s time to use.
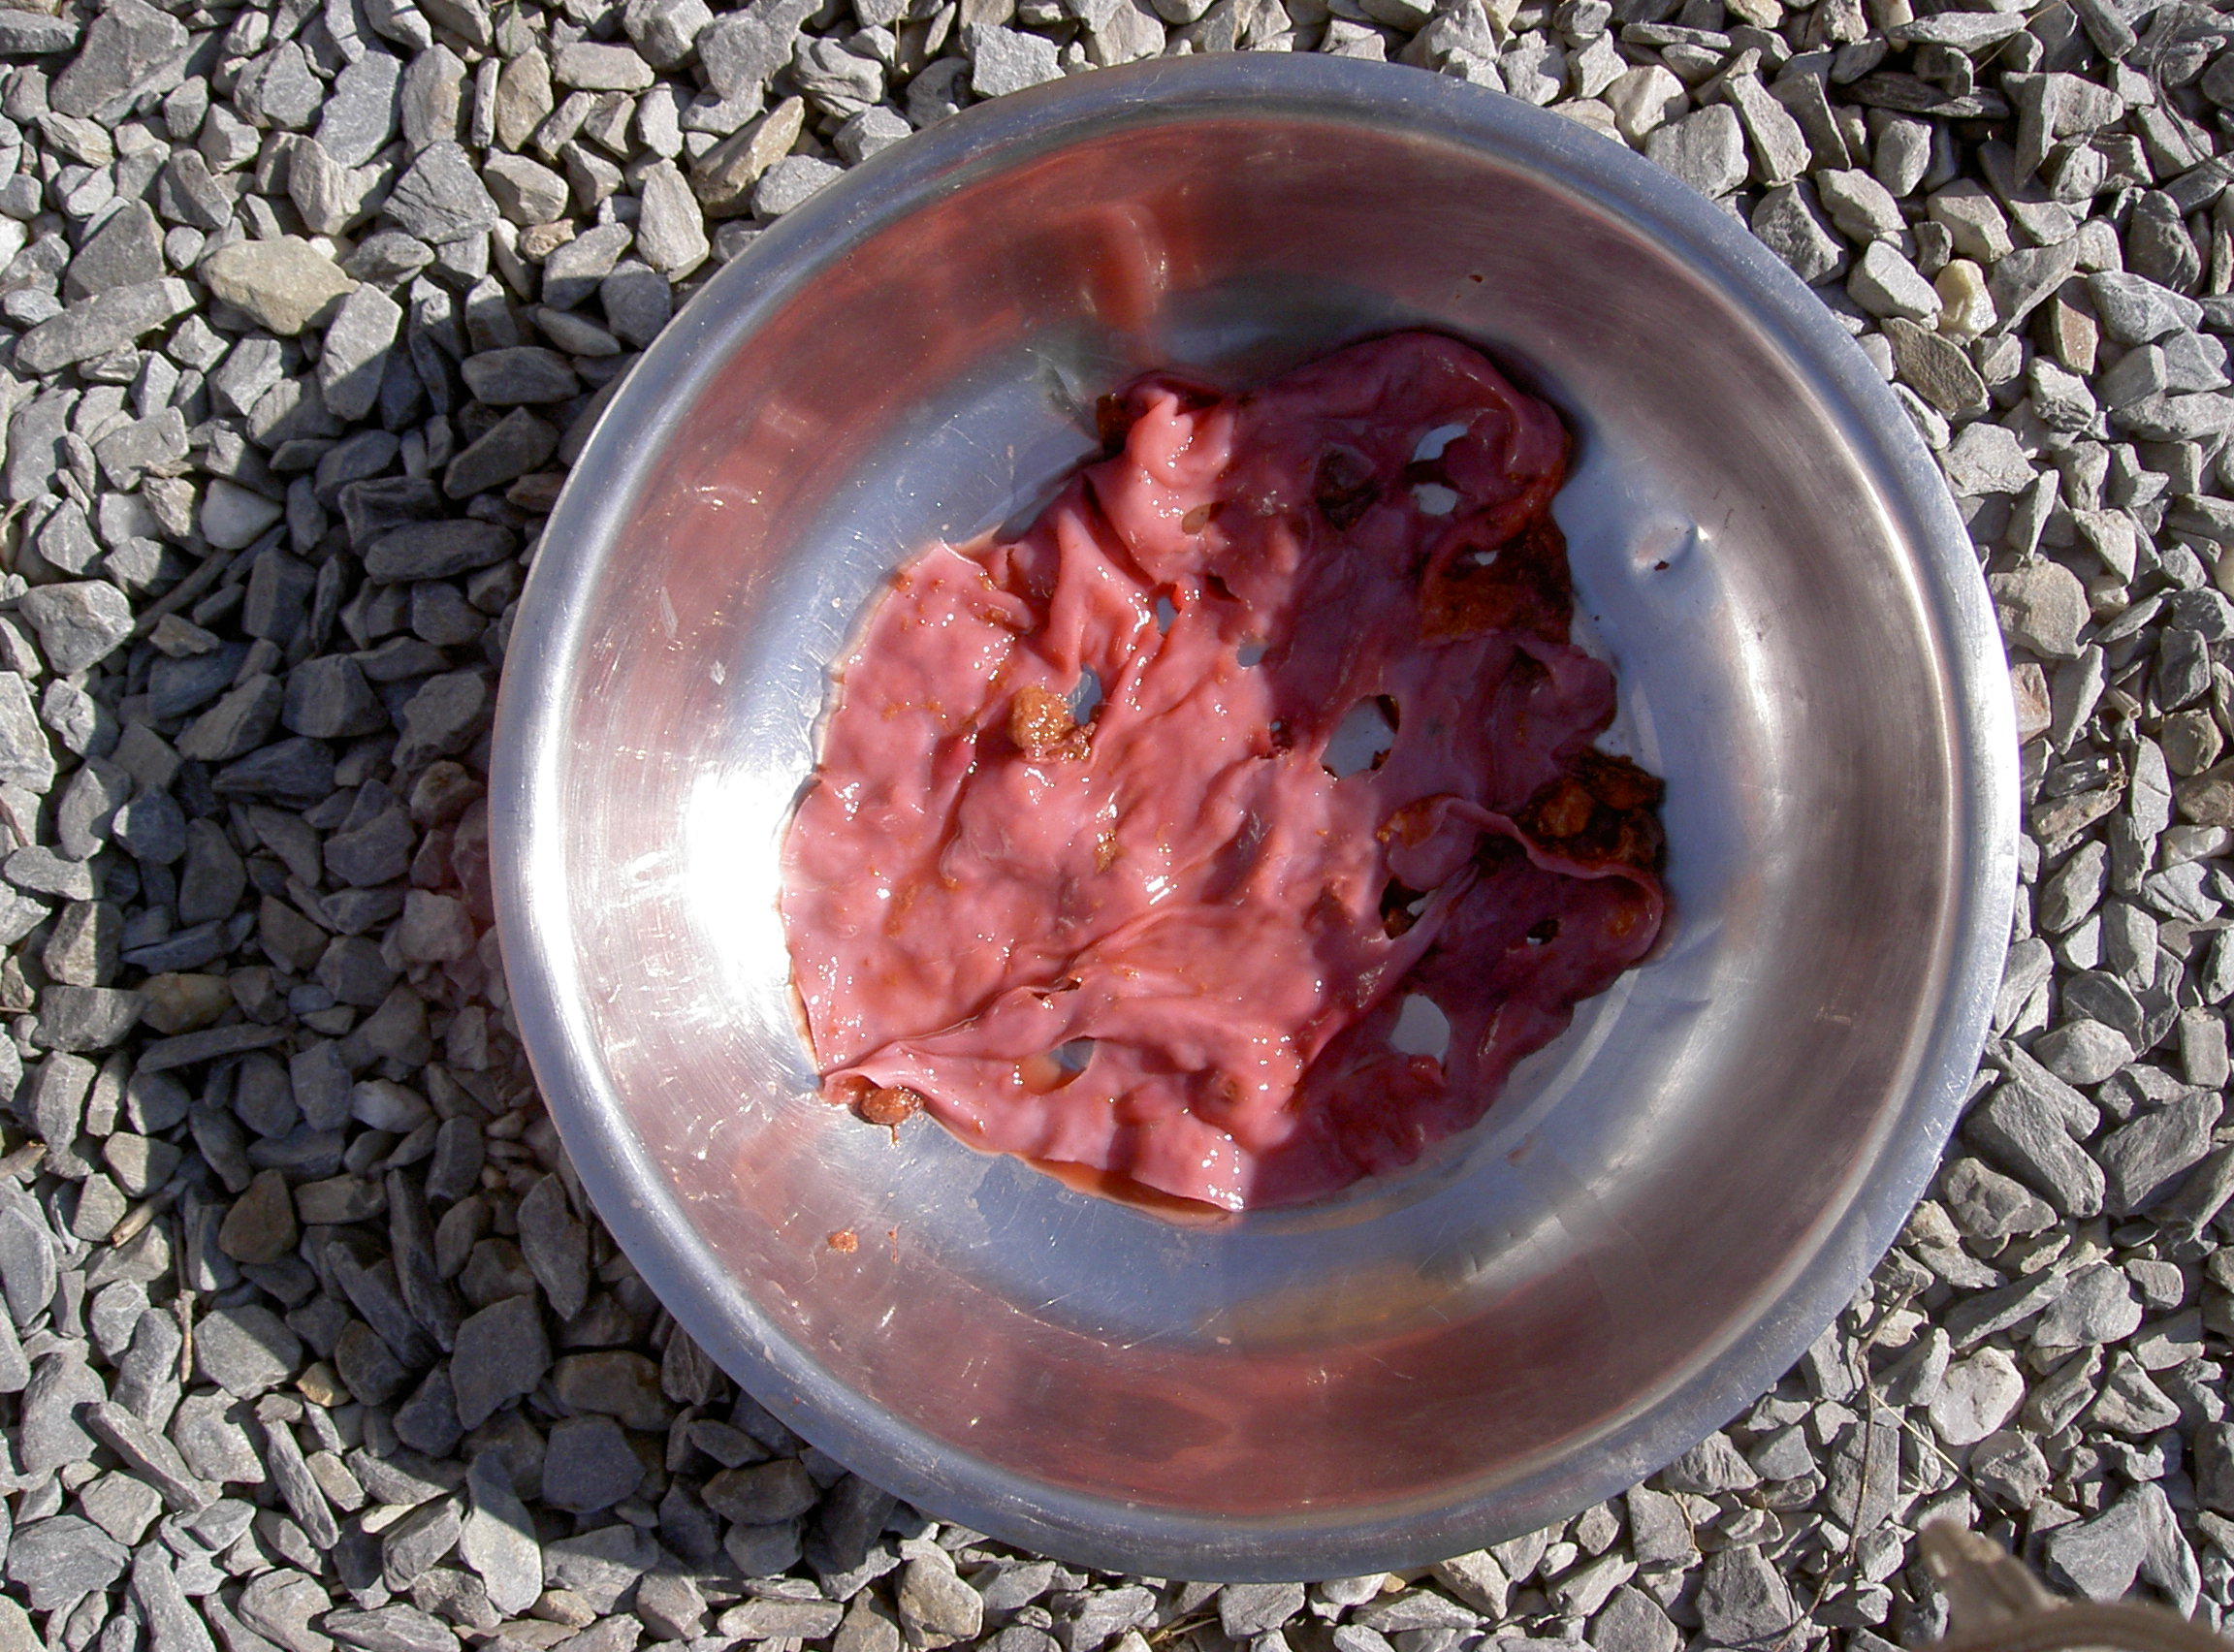
Simply strain your vinegar through a cloth again into your receptacle, and it’s ready to use. The mother won’t do you any harm so you can leave it in place until you’re ready to serve, or you can save it in a jar along with a little of the vinegar to keep it wet then transfer it to your next batch of vinegar in the making in order to give it a kick start. Don’t store your vinegar long term in anything with a metal lid, as the metal can be eaten away by the acid. Cork is good, or plastic if you must. Recycled jam jar lids are just fine providing as the coating on the underside isn’t damaged.
If you wish to preserve your vinegar long term you can hot water bath or pressure can it (no metal lids, remember) but I’ve personally never bothered. It’s easy to make small quantities often, and it keeps well.
You can use fruit scrap vinegar to make delicious salad dressings and in numerous other ways that you’d use tasty vinegar in the kitchen, but it’s not advisable to use it for preserving where the acidity is the sole means of preserving as the acidity level might not be high enough. You’ll find that different fruits provide subtly different coloured vinegars which can be really quite pretty and would make lovely homemade gifts in a pretty corked bottle.
With thanks to Rural Revolution, where I originally learnt about fruit scrap vinegars.

Leave a Reply